
Ship/FX Connect Configuration: Add Printer
Recommended browsers: Google Chrome, Mozilla Firefox, Microsoft Edge
For more information on printing, view the following: Print to a UNC path printer, Adding a Network Printer for eFORMz, Troubleshooting: eFORMz not printing
Install
- Copy the “ShipFXConnect.exe” installer file locally to the workstation you are installing on.
- Uninstall any previous versions of ShipFXConnect.
- Run the “ShipFXConnect.exe” installation file.
- Accept the defaults during the installation.
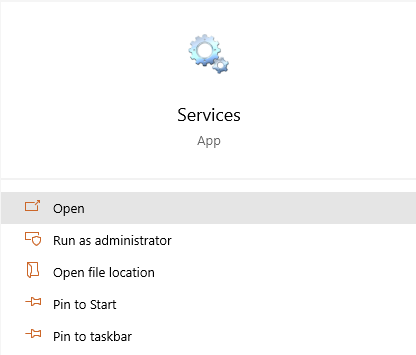
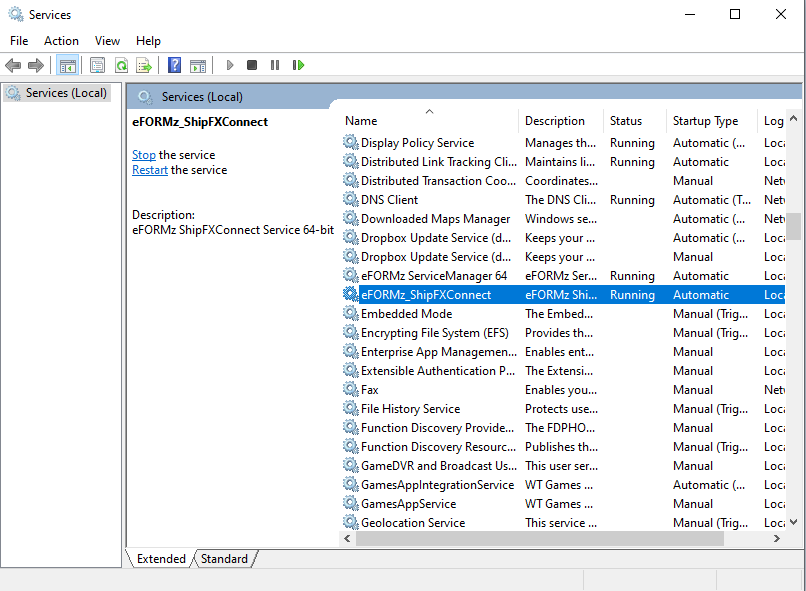
- Once installation is complete, start the “eFORMz_ShipFXConnect” service under Windows services.
Add Printer
Access the printer configuration page at: http://localhost:8081/configure/
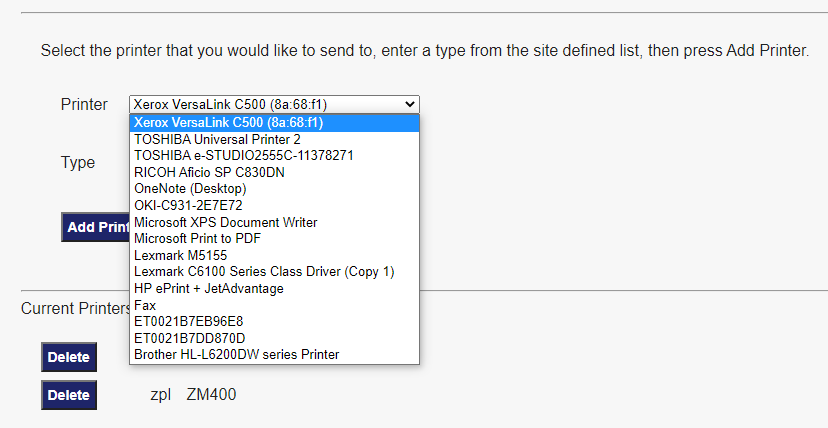
Click on the Connect button below to display a list of connected devices.
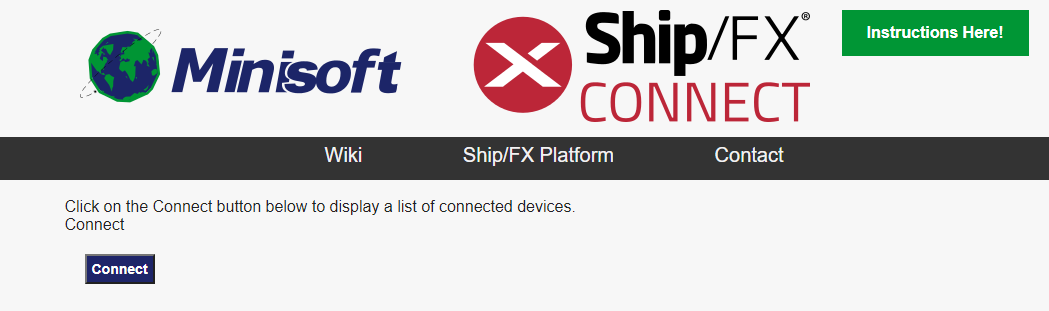
The connected devices will display in the “Printer” drop-down menu.

Select a printer from the drop-down menu and in the “Type” field enter the printer type (pcl or zpl). Note: the field is case-sensitive. Make sure “pcl”, “zpl” or “label” is entered. “label” is necessary for the Pack Station.
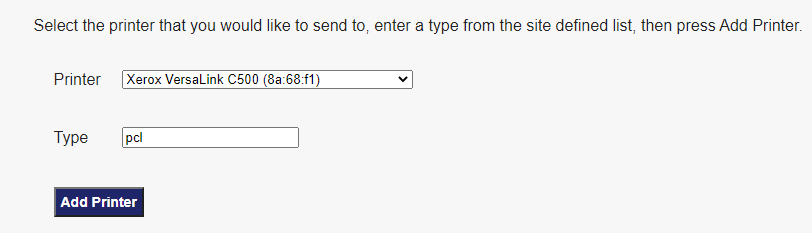
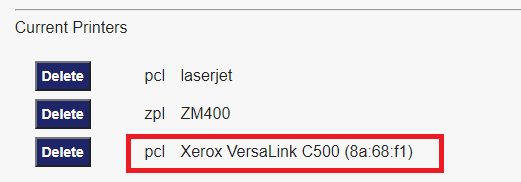
Select Add Printer. The printer will display in the “currentprinters” field.
Alt tag: ShipFX Connect