Troubleshooting with States
Issues arise with States when nesting is involved, which is typically necessary with Line Code elements.
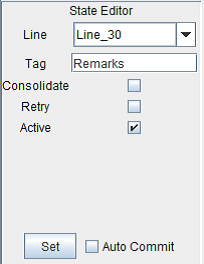
1. Right click any State and select Insert State. In the State Editor, choose Line_30 from the drop-down menu and set the Tag to Remarks.
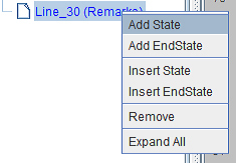
2. Right click the Line_30 State and select Add State.
Note: This will nest a state within an existing State. In other words, the existing State is a parent element and the nested State is a child element.
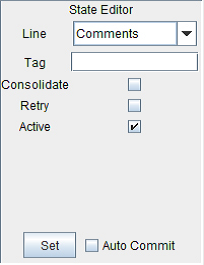
3. Choose Comments from the drop-down menu and click Set.
4. Right click Comments and select Add EndState. Select CommentsEnd.
5. Right click Line_30 and select Add EndState. Select CommentsEnd.
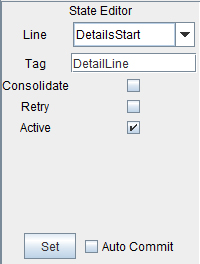
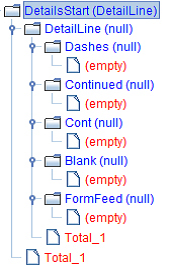
6. Right click any State and select Insert State. In the State Editor, choose DetailsStart from the drop-down menu and set the Tag to DetailLine.
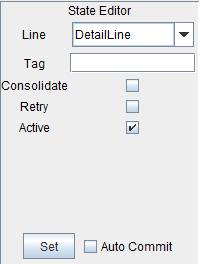
7. Right click the DetailsStart State and select Add State. In the State Editor, choose DetailsLine from the drop-down menu and click Set.
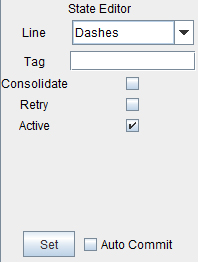
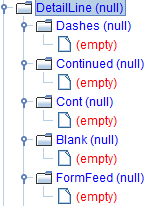
8. Right click the DetailsLine State and select Add State. In the State Editor, choose Dashes from the drop-down menu and click Set.
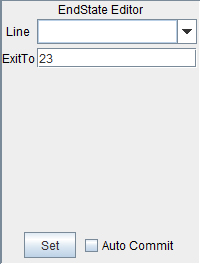
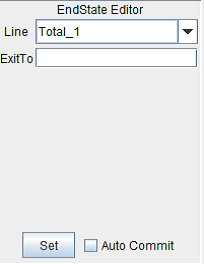
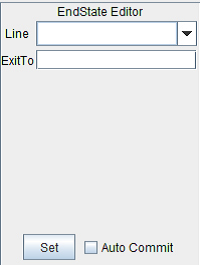
9. Right click the Dashes State and select Add EndState. Set the EndState Editor as empty.
10. Continue adding States to the DetailLine State.
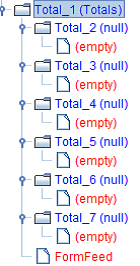
NOTE: To the FormFeed EndState Editor, enter the value of 23 to the ExitTo field. This will cause the parser to skip the next 23 lines.
11. Right click the DetailsLine State and select Add EndState. Pick Total_1 from the drop-down menu. Add the same EndState for the DetailsStart State.
NOTE: To see how the Total_1 Line and the other Total Lines, to be used as an EndState for the DetailsLine and DetailsStart States, are created, review steps 1 through 8 from the section entitled, “Adding Lines & Parameters in the Text to XML Editor.”
12. Including the Total Lines as States is similar to that of the Line_30 State. For the EndState of the Total_1 State, select the FormFeed Line.
13. Click Test in the bottom right.
14. The file will be converted to XML. Click Save in the bottom right to record the changes.

