eFORMz TXT To XML Guide: Reset Line Number Count
Part One: eFORMz TXT to XML Guide: Getting Started
Part Three: eFORMz TXT To XML Guide: States
Part Four: eFORMz TXT To XML Guide: State Loops
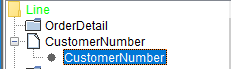
In Part 1, we looked at creating lines and states:
![]()
To continue, right click on the “OrderDetail” state and select “Add State”. This will add a new state inside of “OrderDetail” state. We currently don’t have any other states to add. Go back to the “Lines” column to add another line that we can use for our new state.
You can create a new “line” as we did previously or you can simply click on a variable while holding down ctrl + c and drag that line to copy it. I named mine “CustomerNumber”.
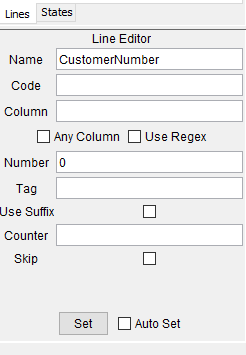
In the photo you will notice that I have the number row set to 0. This is referring to the line number in the text. You can see in the photo below the line number is to the left of the text.

Why would we set the number row to be set to line number zero? Currently there is nothing in line number zero. You can reset the line number count by being in a state. Remember that my line is named “OrderDetail” and that we added a state for the line “OrderDetail”. If you have a state inside of that state it resets the “Number” row counter. So if there was a state inside of “OrderDetail”, and the “Number” row was set to 0. It would actually be on line 2 because the text “CustomerNumber:”, which is the line “OrderDetail”, which has the state, “OrderDetail” is the start of the line counter. If the “Number” row was set to 1 it would then be line 3.
Go back into the states column and select our state that needed to have a line associated with it inside of the “OrderDetail” state. Select the new line you have created and set it. If successfully it should look like this. Don’t forget after you are clicking “Set” you should also be clicking on “Test”.
![]()
Go back to the “Lines” column and click on “CustomerNumber”. If successfully it should highlight the line that has the CustomerNumber Number on it. It doesn’t always highlight it though.
Right click on the “CustomerNumber” line and select “Add Parameter”.

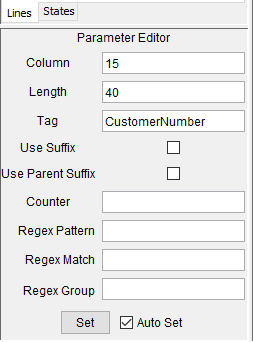
The “Parameter Editor” is used to changed the name of your variable. The “Tag” row is going to be the name that will show up in the XML. The “Column” row is set to where you want to start to extract the data out of. In my case the customer number starts at column 15 and has a character “Length” of 40. It isn’t exactly 40, but I know that it will be less than 40 characters, but could get up to a max of 40.
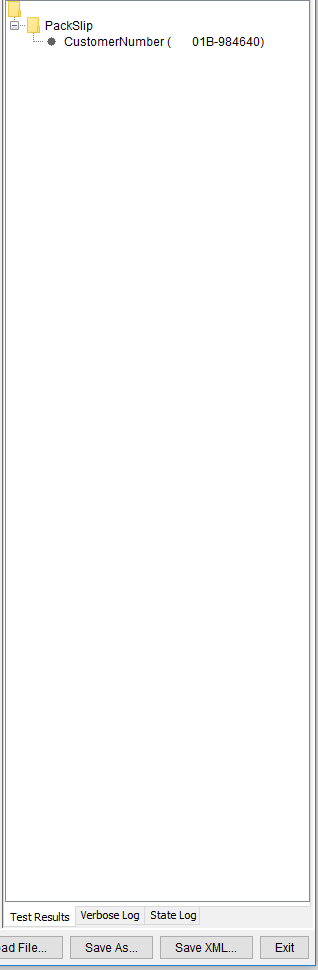
Don’t forget to set it and click test. If it is successfully it should look like this. The XML column will have created a folder called “PackSlip” with the line variable “CustomerNumber” inside of it.
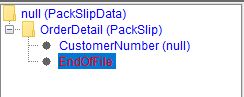
The last step is to create an “End State” variable. Right click on the “OrderDetail” state and select “Add EndState”. It will say “empty”. It requires a line to be set.
![]()
Create a new line in the “Lines” column and have it set for the very end of your text file. I named mine “EndOfFile” and has it set to line 5 because that is where my text file ends.

Go back into the “States” column and set the “EndState” to have your new end of line line.
Set everything and don’t forget to select “Test”. You have just created your first XML variable from text!