Adding Custom Field to NetSuite Sales Order Line
NetSuite allows custom fields to be added to nearly every object type, such as sales order, sales order line, item, and much more. Here we will show how to add a custom field to the Sales Order Line details.
- Log in to your NetSuite account.
- Navigate the following menu command:
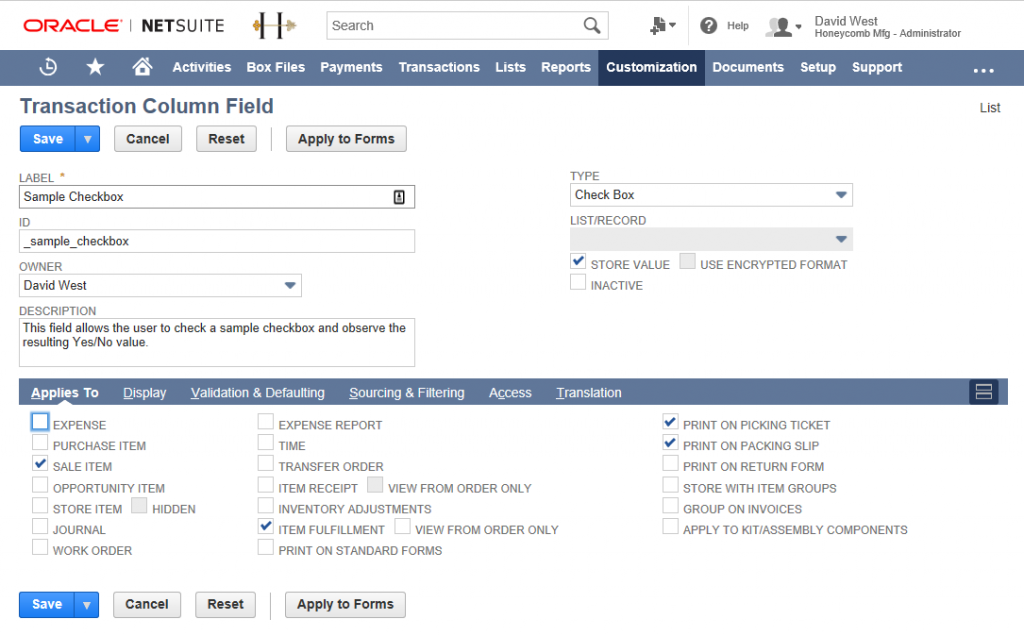
Customization > List, Records, & Fields >Transaction Column Fields > New - Enter a Label, the text identifying the field to the user. “Sample Checkbox” for this example.
- Enter the ID, which will be appended to “custcol” to identify the field in Web Service transactions. “_sample_checkbox” in this example, for a real ID of custcol_sample_checkbox.
- Enter a Description that helps someone understand what this field is, why it exists, and how to use it.
- Choose the Type from the dropdown list. “Check Box” in this example.
- On the “Applies To” tab at the bottom, click the checkboxes for the document types to which this field will be added. “Sale Item” and “Item Fulfillment” in this example. Also click other checkboxes for desired behaviors. We will check “Print on Picking Ticket” and “Print on Packing Slip”.
- On the “Display” tab, choose where to insert this field if that matters to you, and type help text for the field (not sure where this is displayed).
- On the “Validation & Defaulting” tab, select any options that you wish. They will differ depending on the Type you selected for the field.
- On the Translation tab, you can enter other translations of the Label and Help text for the Field.
- Click the Save button to add the field.
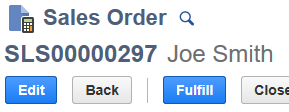
Now you can view an order to see the new checkbox in the lines. Here is order SLS00000297:
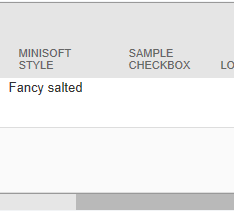
Scroll to the Lines information at the bottom, then scroll to the right side of the line data to see the new Sample Checkbox field:
If you edit the record, you can see what the field looks like in edit mode:
And after you check it and save the record, you can see that “Yes” indicates a checked state, and blank is unchecked.


