Dynamic Printer Pooling
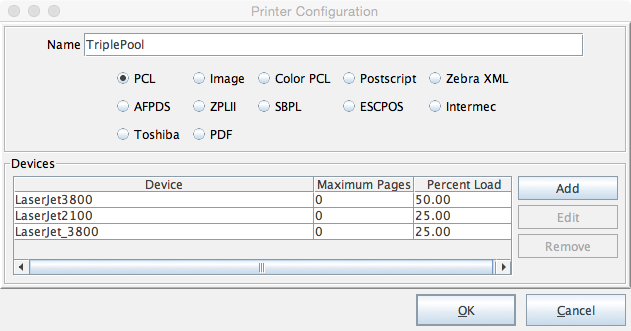
If you configure a printer with more than one device and all the devices have Maximum Pages = 0, then any print job’s output to that pool will split the pages between devices by the percent load. If the Maximum Pages setting is not zero, the printer output will be split into jobs (spool files) with a max number of pages based on this setting. If the setting is “10”, then 10 pages will be output in one job (spool file), then a new job will be created, and another 10 pages printed to it, and so on. If there is a group configured in the project, the split will only happen on group boundaries. View the tutorial here.
Note: Consider setting the page limit (Maximum Pages) for each printer at an even value, setting it around 100 pages or so.
Load Balancing
Dynamic Printer Pooling is an instance of “load balancing” within eFORMz, which enables configuring how much or how little a printer is utilized. This allows eFORMz users to distribute the print load among pools of printers. Use multiple paper trays as if they were one. Manage printer jams and paper out conditions so the job picks up right where it left off. Allow print output jobs to be divided up into smaller files for faster printing using a parameter called “maximum pages.” View the tutorial here, or proceed to “Configuring Percent Load” below.
Configuring Percent Load
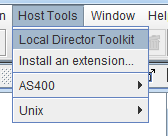
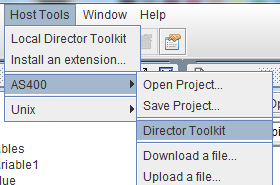
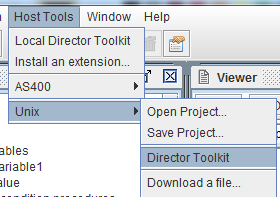
To configure percent load among printers, from the eFORMz Composer select Host Tools followed by the operating system specific instance of the Director:
Local Director Toolkit (Windows)
AS400 > Director Toolkit (iSeries)
Unix > Director Toolkit (Unix)
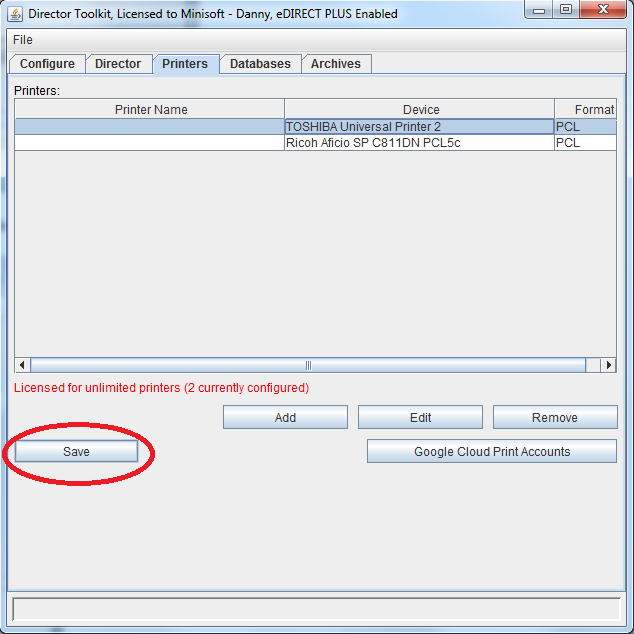
1. From there, left-click the printer you would like to set the percent load for, and select Edit.
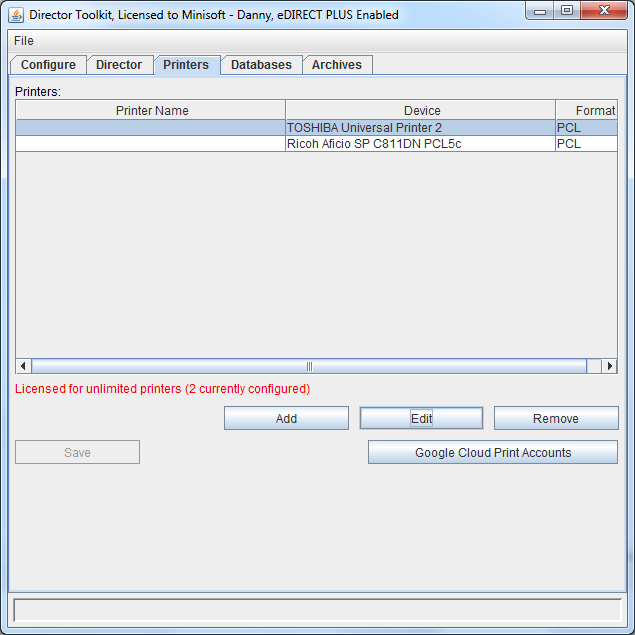
Note: For a tutorial on adding a printer, view the following video tutorial.
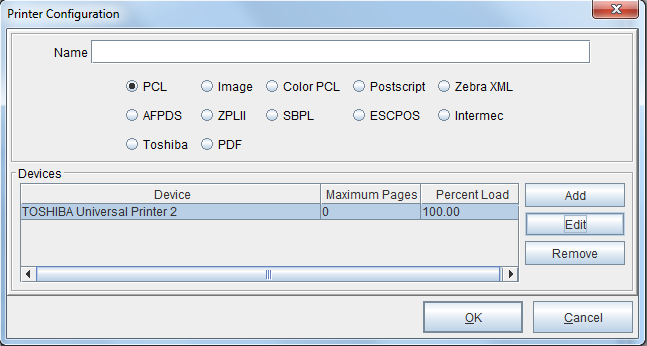
2. The Printer Configuration dialog box will display. Left-click the printer from the Devices field, and select Edit.
3. In the Percent load field, adjust the percent load as needed (Default is 100.00). Select OK when complete.
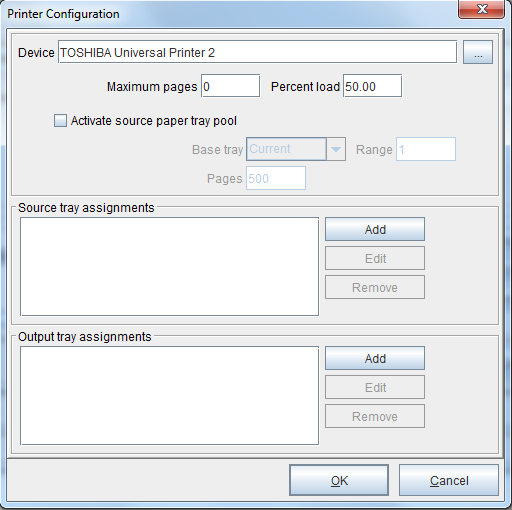
4. Save the settings by selecting the Save button in the bottom left of the Director Toolkit before exiting.
